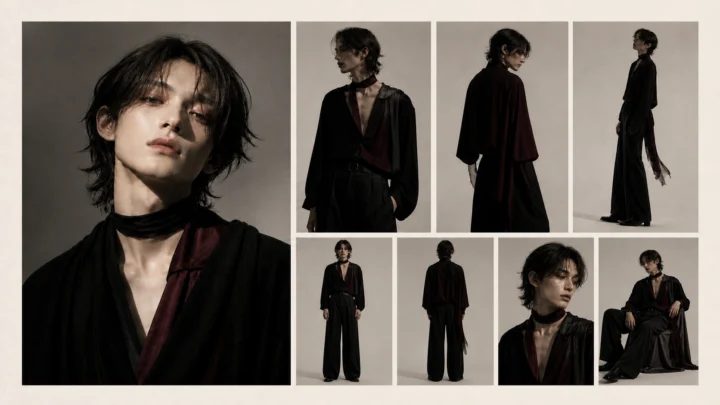
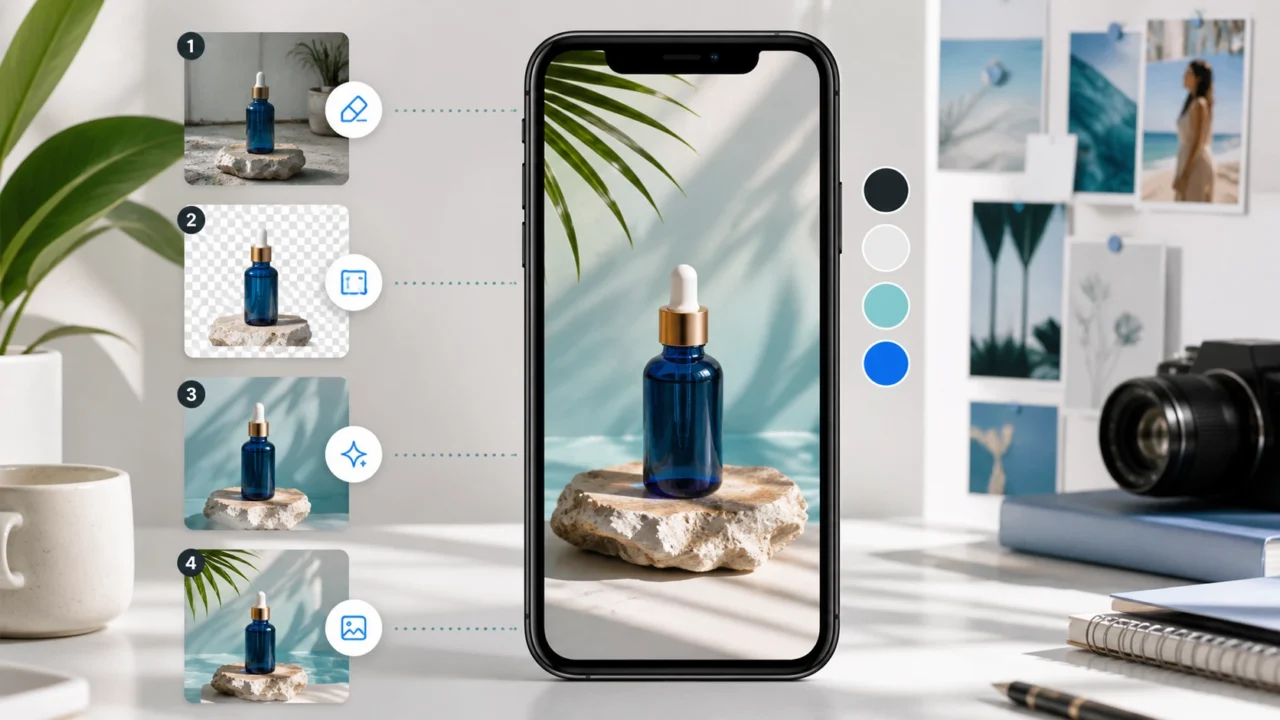
Instagram Stories have always rewarded speed, clarity, and visual freshness. The difference in 2026 is that AI image editing is no longer a separate experiment that happens far away from the social workflow.
Meta has been adding AI-powered creative tools across its apps, including Muse Image-powered effects for Instagram Stories and more AI-assisted creation inside Meta AI. That means creators now need a better process for deciding what to edit, what to leave alone, and how to keep Story images feeling intentional instead of synthetic.
AI image editing for Instagram Stories is not just about making a photo look more dramatic. It is about preparing a vertical visual that can survive a fast tap-through environment: the subject must be clear, text must stay readable, the crop must respect interface overlays, and the final image should still feel like it belongs to the creator or brand that posted it.
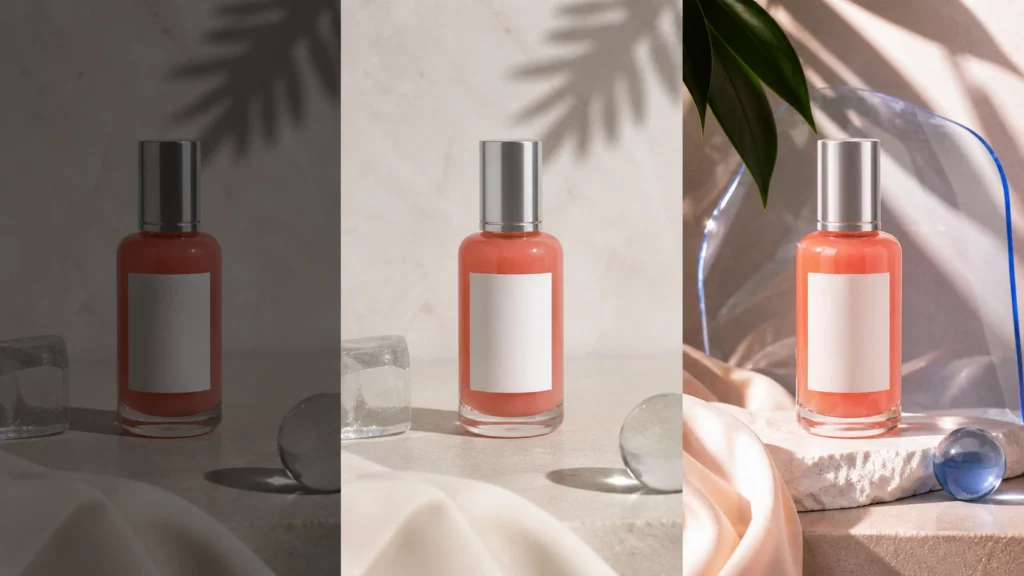
This guide explains a practical workflow for editing Story-ready images with AI, from cleanup and background removal to style changes, enhancement, and final publishing checks.
The goal is simple: use AI image editing for Instagram Stories to make each visual clearer, more flexible, and more publishable without making it look less human.
What AI Image Editing Means for Instagram Stories Now

AI image editing for Stories covers several jobs that used to require separate tools or manual design work:
- Fixing poor lighting, noise, softness, or compression
- Removing distracting objects or messy backgrounds
- Changing the visual style while keeping the subject recognizable
- Creating cutouts for stickers, product callouts, and layered layouts
- Reframing horizontal or square photos into vertical Story assets
- Turning a reference image into a reusable visual prompt
For creators, AI image editing for Instagram Stories is most useful when it turns scattered raw visuals into a reliable publishing system.
Meta's Muse Image update shows where social creation is moving: AI can help users generate, edit, restyle, and share visuals across feed, story, and chat surfaces. For creators, the useful takeaway is not "let AI do everything." The useful takeaway is that Story images now need a tighter pre-publish workflow because AI edits are becoming ordinary.
The best Story assets still feel specific. A clean product cutout, a sharpened portrait, a restyled campaign image, or a brighter behind-the-scenes photo works when the edit supports the message. It fails when every surface looks over-smoothed, every background feels generic, or the AI effect becomes louder than the story itself.
What Makes a Story Image Work Before Editing
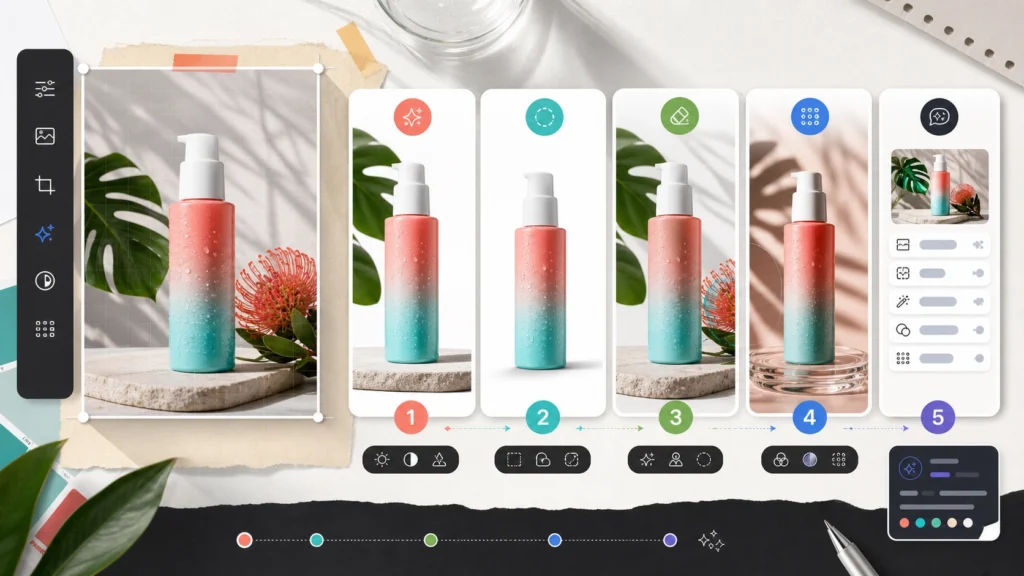
Before opening any AI photo editor, check the Story asset against four constraints.
The subject is readable in one second
Stories are fast. If the viewer cannot identify the face, product, scene, or offer immediately, no filter will save the image. Use AI to clarify the subject, not to bury it under texture.
The image fits a vertical frame
Instagram Stories are built for a 9:16 vertical canvas. Meta's own creative guidance for Stories emphasizes full-screen vertical design and safe zones where important text or logos are not covered by interface elements. Keep the most important visual information near the center, with breathing room near the top and bottom.
The edit has a reason
Good AI editing answers a specific production problem:
- The photo is too dark.
- The product is lost in a cluttered background.
- The crop does not fit a Story.
- The campaign needs three visual directions before choosing one.
- A reference style needs to be translated into a reusable prompt.
If the edit does not solve a problem, it usually adds noise.
The image still feels authentic
Creators are increasingly sensitive to content that looks like obvious AI output. Heavy retouching, plastic skin, impossible shadows, warped hands, fake-looking product labels, and inconsistent lighting all reduce trust. A strong AI-assisted Story image should feel polished, not suspicious.
5 AI Edits That Improve Story-Ready Images
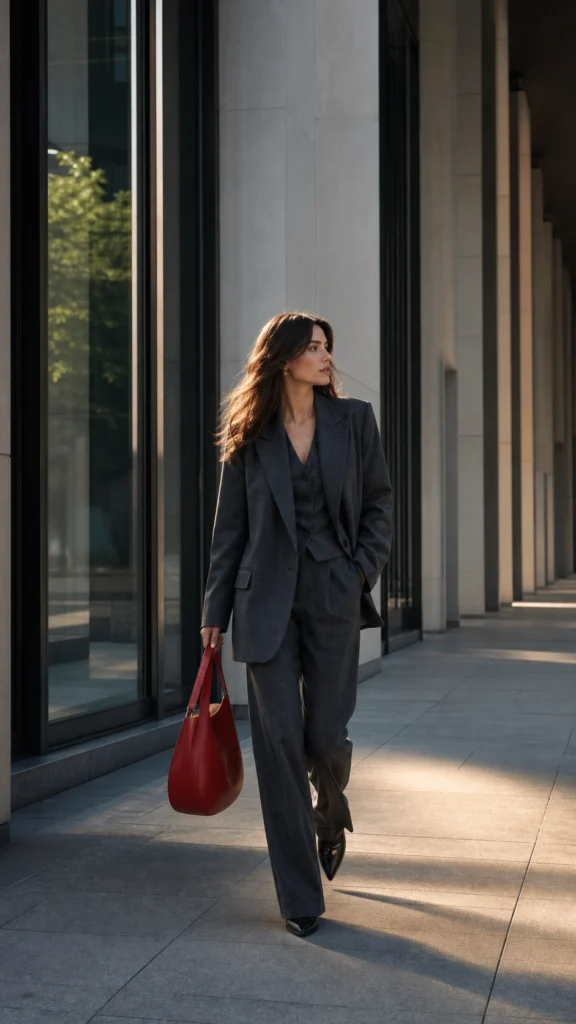
These five edits are the core of practical AI image editing for Instagram Stories because they improve clarity before style.
Clean the background before adding design layers
Background removal is one of the highest-value AI edits for Stories. A clean cutout lets a product, person, or object move into different layouts without carrying the messy room, shelf, sidewalk, or studio clutter from the original shot.
Use a background remover when:
- A product needs to sit on a seasonal Story background
- A creator portrait needs a cleaner thumbnail-like crop
- A campaign image needs several color or layout versions
- The original background distracts from a promotion or announcement
Linocut's AI Background Remover is a good fit for this step because it focuses on subject cutouts, edge preservation, shadow control, and transparent or custom background exports. That matters for Stories because hair, fabric, glass, packaging edges, and product labels often break first when an image is cut out poorly.
Enhance image quality before cropping
Cropping a soft image into a vertical Story often makes the weakness more visible. Noise, low contrast, muddy light, and compression artifacts become harder to hide once the image fills the screen.
Run enhancement before final cropping when:
- The image came from a compressed social download
- A product label needs to stay readable
- A portrait looks flat or underexposed
- You need multiple Story variants from one source image
Linocut's Image Enhancer is designed for clarity, light, texture, denoise, and color balance. In a Story workflow, use enhancement as the cleanup pass before background removal, restyling, or prompt-based photo editing.
Use prompt-based editing for specific corrections
An AI photo editor is most useful when the edit request is precise. Instead of asking for a vague improvement, describe the change in production language:
- "Brighten the face while keeping skin texture natural."
- "Remove the cup from the table and keep the wood grain consistent."
- "Extend the background upward for a vertical Story crop."
- "Replace the harsh yellow lighting with soft daylight."
- "Clean the product reflection but keep the bottle shape unchanged."
Linocut's Photo Editor supports prompt-based photo changes such as object cleanup, enhancement, lighting correction, background edits, composition changes, and text replacement. For Instagram Stories, that makes it useful after the basic asset is already chosen and the creator knows exactly what needs fixing.
Restyle lightly with an AI filter
AI filters are tempting because they can make an ordinary photo feel new in seconds. The risk is that the style becomes the content. For Stories, the strongest filter edits usually preserve the subject and composition while changing mood, color, texture, or medium.
Use an AI filter when:
- A seasonal campaign needs a different visual mood
- A creator wants a stylized portrait without reshooting
- A product image needs several concept directions for review
- A brand wants a softer, cinematic, sketch, 3D, or editorial look
Linocut's AI Filter lets creators choose presets or use a reference image to guide palette, texture, light, and mood. For Stories, start with subtle treatments first. The subject should still be instantly recognizable after the filter.
Turn reference images into reusable prompts
The more a creator posts, the more consistency matters. If a Story style works once, it should be possible to describe and reuse it.
Image-to-prompt tools help by translating a reference image into structured prompt language: subject, light, camera angle, material, texture, mood, and constraints. Linocut's Image to Prompt workflow is especially useful when a creator or brand wants to keep a repeatable Story style across product launches, creator updates, behind-the-scenes posts, and campaign variations.
Use this step to build a small prompt library:
- "Bright product-on-color Story prompt"
- "Founder portrait announcement prompt"
- "Soft editorial lifestyle prompt"
- "Before-and-after cleanup prompt"
- "Seasonal campaign background prompt"
The result is less guessing and more reusable creative direction.
When to Use Each AI Editing Tool
| Story problem | Best AI edit | Why it helps |
|---|---|---|
| The photo is too dark or noisy | Image enhancement | Improves light, clarity, texture, and color before export |
| The background is distracting | Background removal | Creates a clean subject for layered Story layouts |
| One object ruins the image | Prompt-based photo editing | Removes or repairs a specific area without redesigning the whole asset |
| The Story needs a fresh look | AI filter or style transfer | Tests new moods while keeping the source composition useful |
| A brand needs repeatable visuals | Image to prompt | Turns a working reference into reusable creative language |
| The Story crop feels awkward | Prompt-based editing plus reframing | Extends or adjusts the image for a vertical layout |
The important rule: do the structural edit first, then the style edit. Clean, enhance, crop, and organize the asset before applying a strong look. A beautiful filter on a messy source image usually creates a prettier mess.
A Practical AI Image Editing for Instagram Stories Workflow
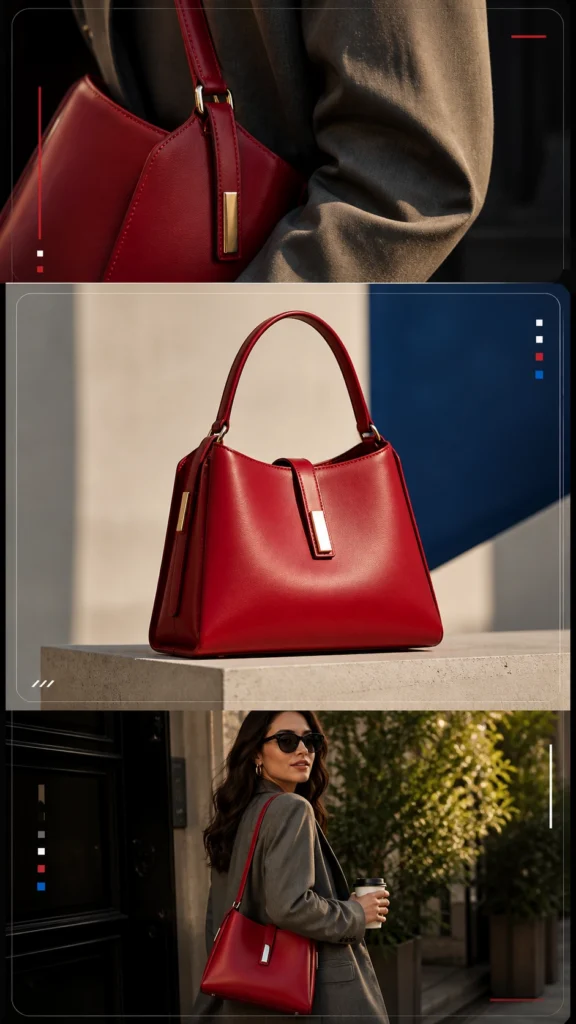
Step 1: Pick one clear Story goal
Choose the job before choosing the effect:
- Product announcement
- Limited-time offer
- Behind-the-scenes update
- Creator selfie or portrait
- Event recap
- Tutorial step
- Before-and-after reveal
This keeps the edit from drifting.
Step 2: Prepare the source image
Use the highest-quality source available. Avoid screenshots when the original photo is available. Check for blur, noise, low contrast, clutter, awkward crops, and small product details.
Step 3: Enhance or clean the image
If the source is weak, start with enhancement. If the scene is busy, start with background removal or object cleanup. Do not apply a style filter until the basic asset is readable.
Step 4: Reframe for 9:16
Build the image for the Story frame. Keep the subject dominant, leave room for stickers or captions, and avoid placing essential text or logos near the very top or bottom where Instagram interface elements may appear. Meta's safe-zone guidance for Stories and Reels is useful here because it reminds teams to keep key creative elements away from interface-covered areas.
Step 5: Apply style only where it supports the message
Use AI filters, reference style, or prompt-based lighting changes to make the image feel campaign-ready. Keep product colors, faces, labels, and brand cues accurate unless the Story is explicitly experimental.
Step 6: Export and review like a viewer
Before publishing, view the image at phone size. Ask:
- Can I understand it in one second?
- Is the subject clear?
- Is the text readable?
- Are the important details inside the safe area?
- Does anything look fake, warped, or overprocessed?
- Does the image still match the account's usual visual identity?
This final check catches most AI editing problems before the audience does.
How Linocut Supports This Workflow
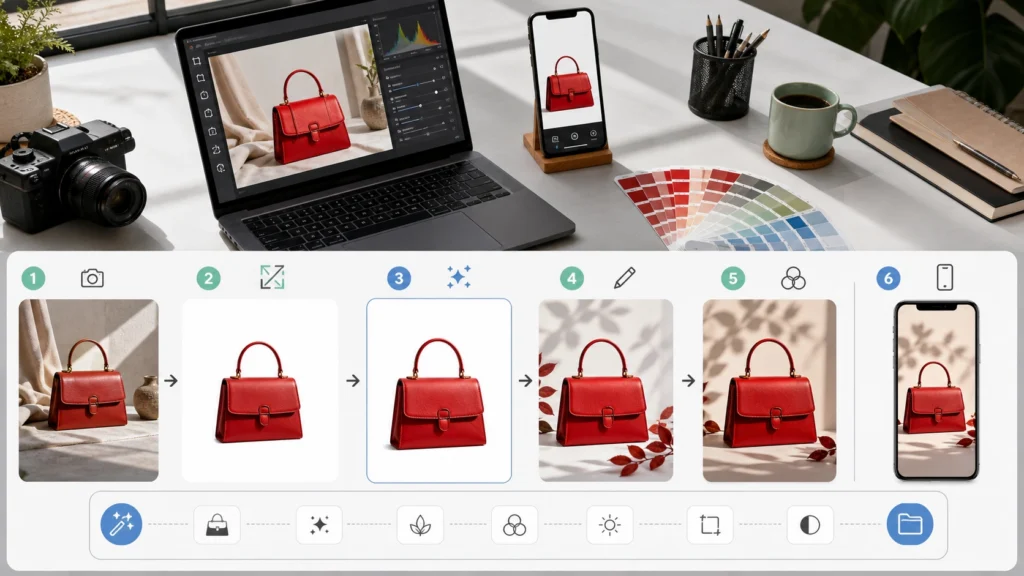
Linocut.ai is useful for Instagram Stories because its image tools are not isolated one-off utilities. A creator can move from cleanup to enhancement to restyling to prompt reuse inside a broader creative workspace. That makes AI image editing for Instagram Stories easier to repeat across campaigns, not just easier to finish once.
| Workflow stage | Linocut tool | Practical Story use |
|---|---|---|
| Clean the subject | AI Background Remover | Create product, portrait, or object cutouts for Story layouts |
| Improve quality | Image Enhancer | Sharpen, relight, denoise, and balance source images |
| Make specific edits | Photo Editor | Fix objects, lighting, background issues, or composition with prompts |
| Explore visual style | AI Filter | Test social-ready looks from presets or references |
| Reuse a direction | Image to Prompt | Turn a strong Story reference into repeatable prompt language |
This matters because Instagram Stories are rarely one final image. A brand may need the same product in a launch Story, a promo Story, a creator Story, and a recap Story. A repeatable workflow keeps those variations connected instead of forcing the creator to start over each time.
For teams publishing often, AI image editing for Instagram Stories works best when it becomes a repeatable production habit: prepare the asset, protect the subject, choose the right edit, and review the final image in context.
Common Mistakes That Make AI Story Images Look Cheap
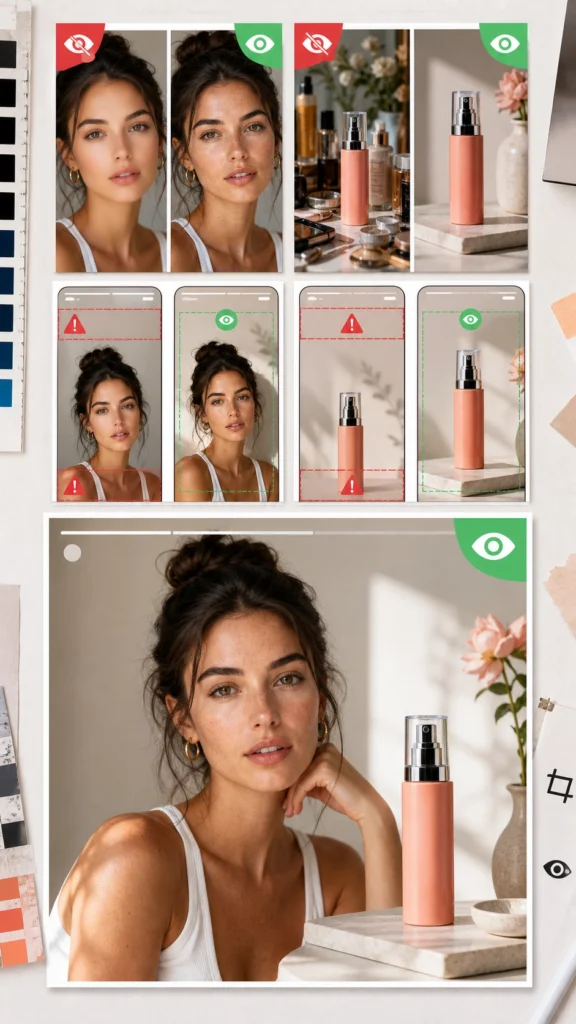
Overusing filters
Strong AI effects can flatten every post into the same artificial look. Use filters to support a visual idea, not to hide a weak image.
Ignoring the safe zone
Text, product names, faces, logos, and price information should not sit where Instagram interface elements can cover them. Design the center first.
Changing product details
AI edits can accidentally alter labels, packaging, colors, textures, or proportions. For ecommerce and brand Stories, check the product carefully before posting.
Smoothing faces too much
Portrait edits should preserve skin texture and human detail. If the face looks waxy, the Story will feel less trustworthy.
Using one prompt for every image
Different Story jobs need different instructions. A product launch prompt, a founder portrait prompt, and a behind-the-scenes prompt should not sound identical.
A short internal checklist for AI image editing for Instagram Stories can prevent this: goal, subject, crop, edit type, style, final phone-size review.
Forgetting the next post
One Story image often sits inside a sequence. Check whether the edit works with the slide before and after it. A single beautiful image can still fail if it breaks the story flow.
FAQ
What is AI image editing for Instagram Stories?
AI image editing for Instagram Stories means using AI tools to prepare vertical Story visuals through cleanup, enhancement, background removal, style changes, object edits, reframing, or prompt-based corrections before publishing.
What size should Instagram Story images be?
Instagram Stories are designed for a vertical 9:16 format. A common production size is 1080 x 1920 pixels. Keep important text, logos, faces, and product details away from the top and bottom interface areas.
Can I use AI-edited images for product Stories?
Yes, as long as the edited image remains accurate. Check packaging, product color, label text, shape, texture, and scale before publishing. AI should polish the asset, not misrepresent the product.
Should I use an AI filter or an AI photo editor?
Use an AI filter when you want to change the overall look, mood, palette, or style. Use an AI photo editor when you need a specific correction such as removing an object, fixing light, extending a background, or cleaning a local detail.
How do I keep AI Story images from looking fake?
Start with a strong source image, make one edit at a time, preserve natural texture, avoid excessive smoothing, keep lighting consistent, and review the final image at phone size before posting.
Is AI image editing useful for creators without design skills?
Yes. AI can reduce manual retouching work, but creators still need clear decisions about subject, crop, message, and style. The best results come from combining simple creative judgment with focused AI edits.
For non-designers, AI image editing for Instagram Stories should start with simple production choices: make the subject clear, keep the frame vertical, use one visual style, and review every output before posting.