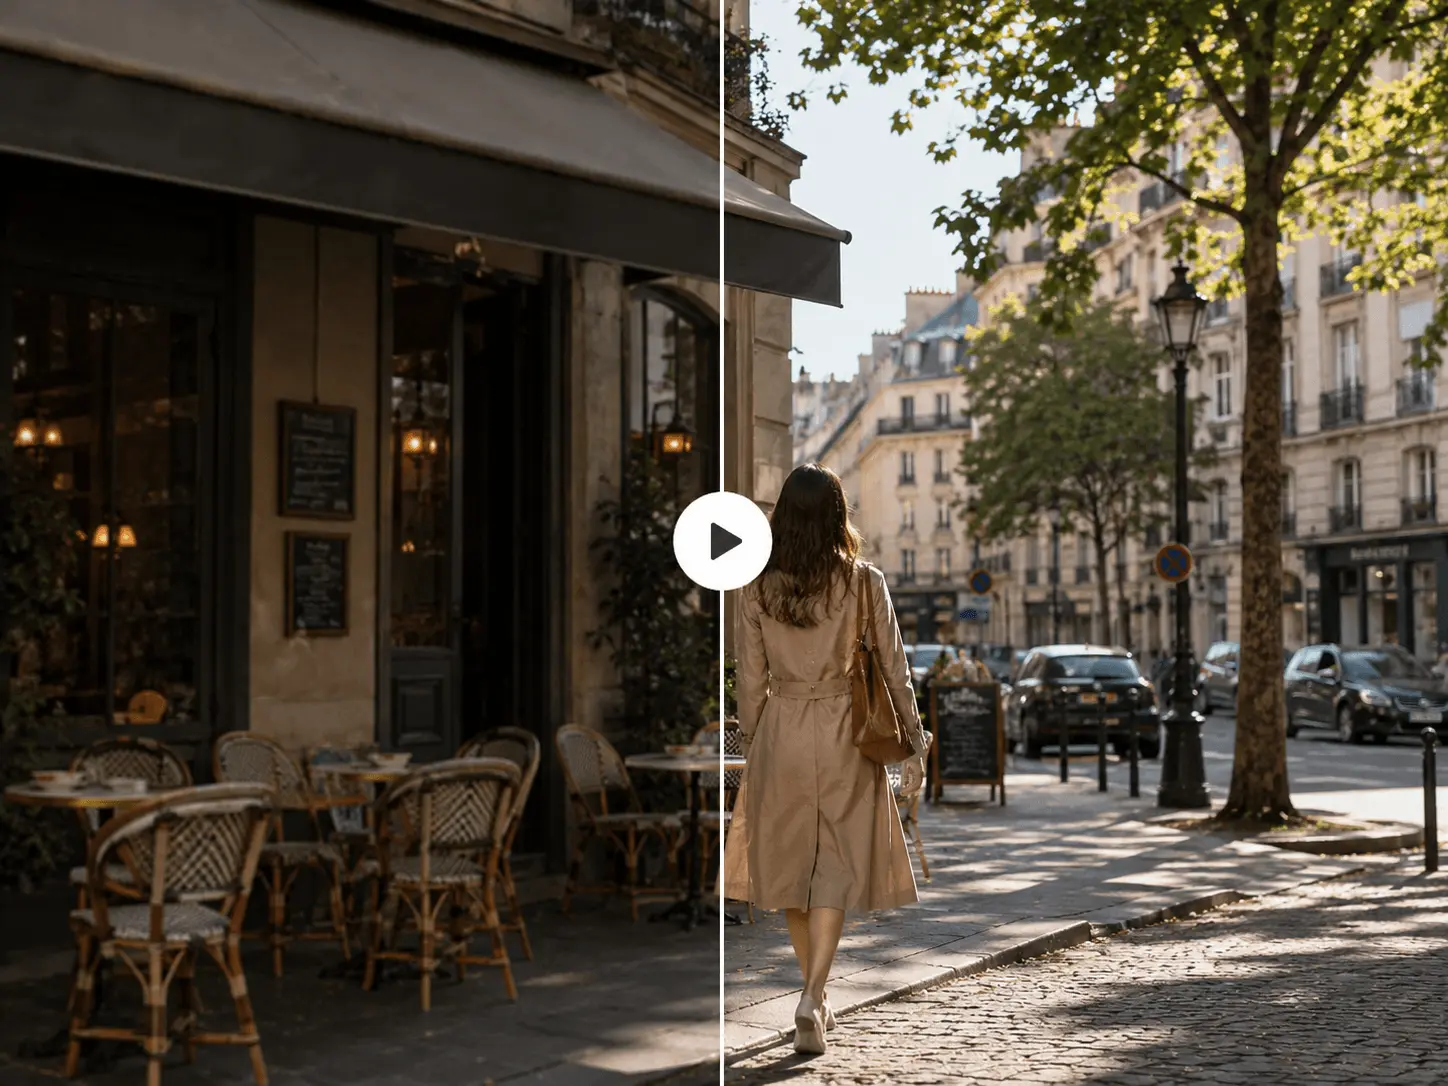
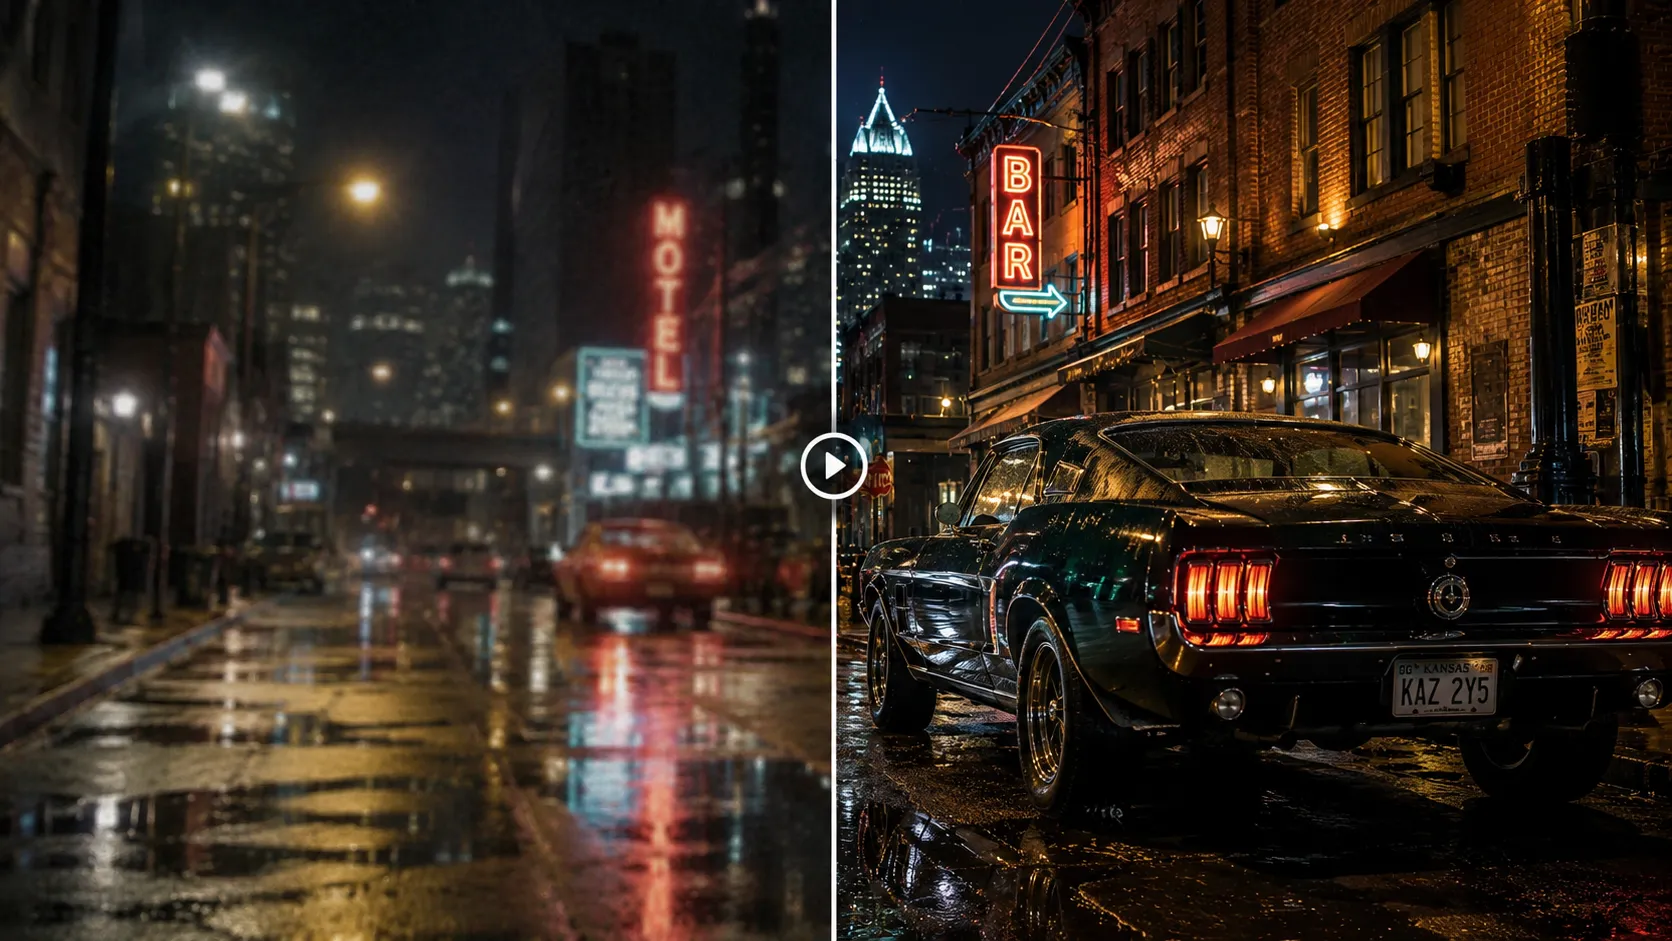
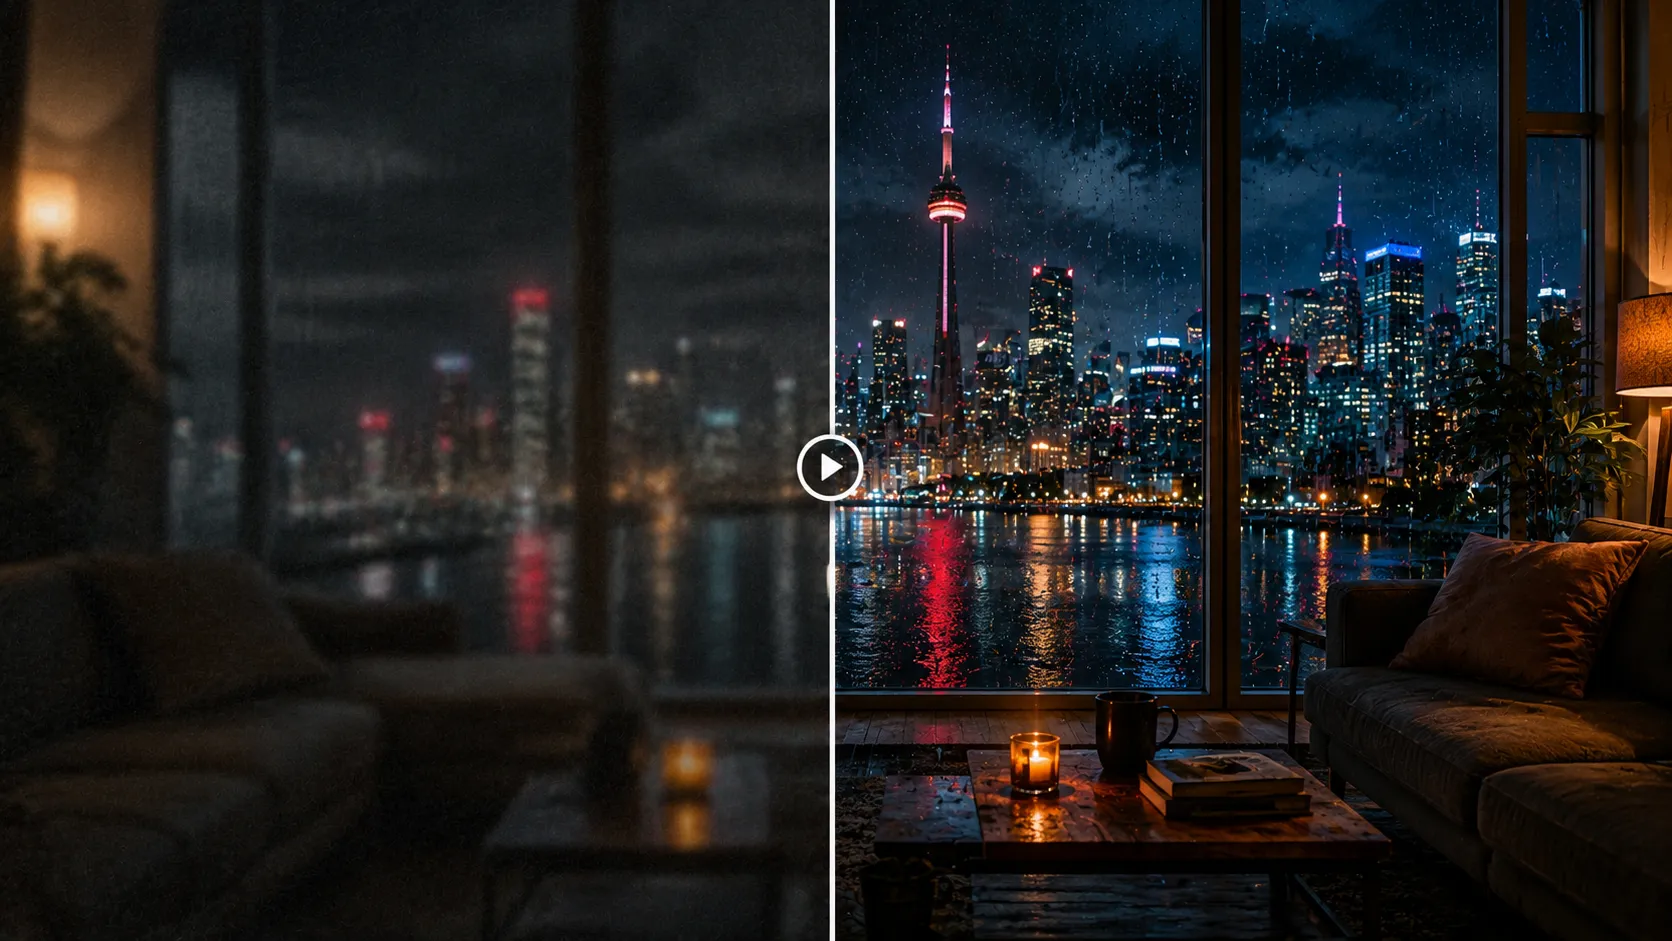
Show a looping example first
The page opens with an example clip so users understand the HD clip enhancer task before entering the editing state.
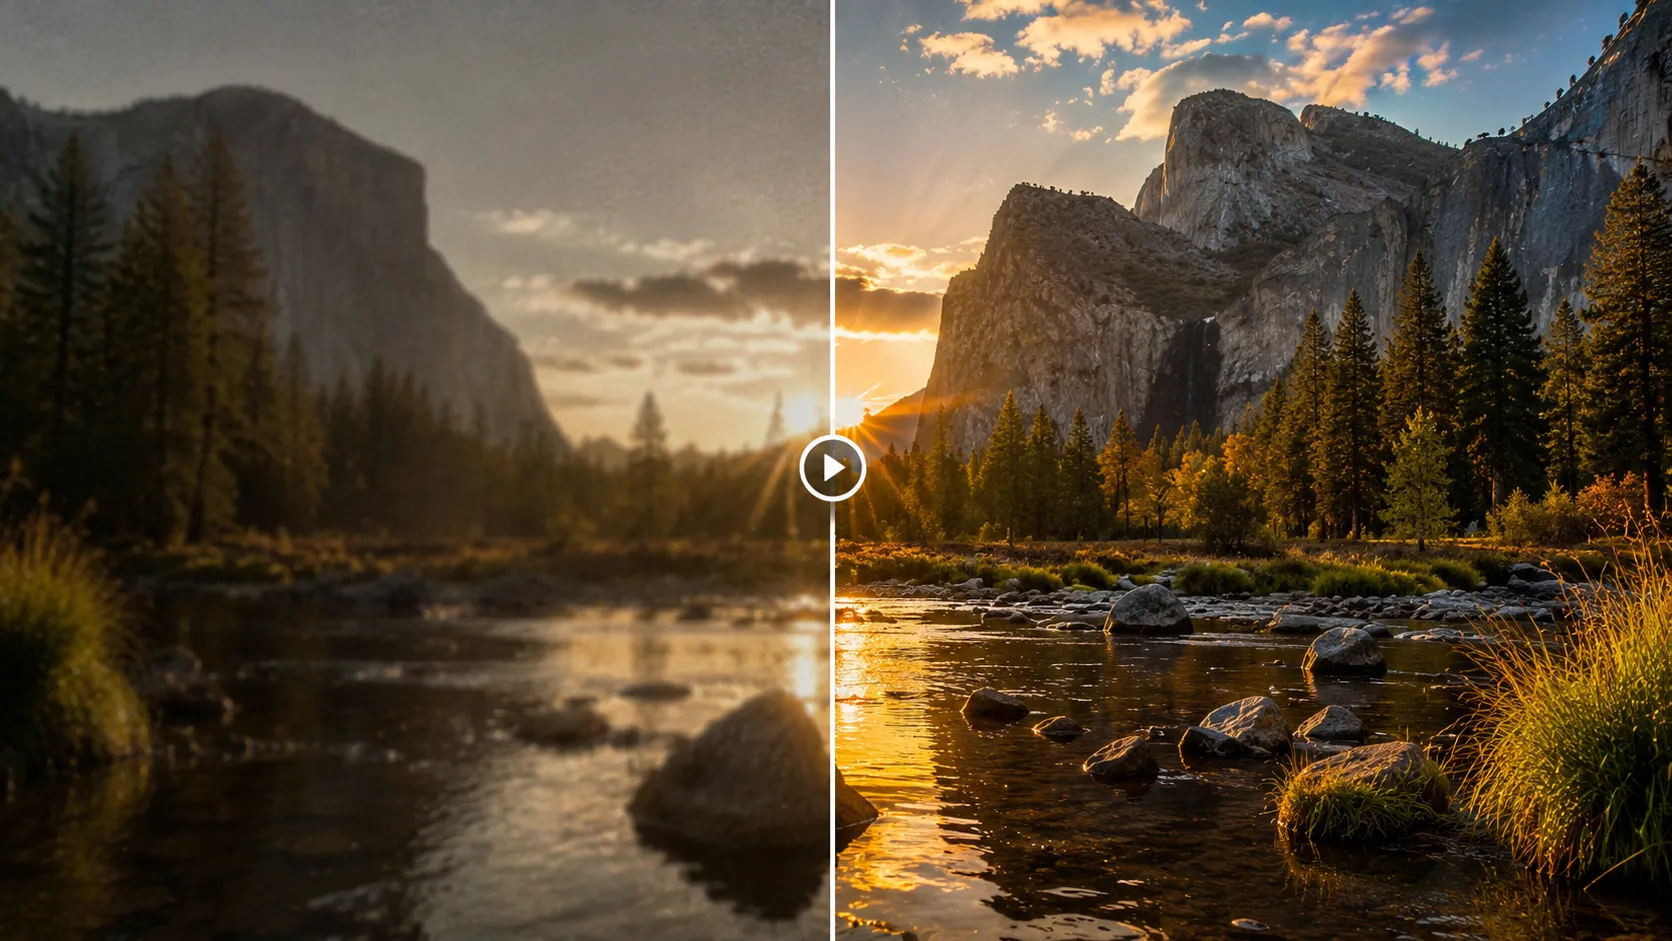
Enhance video quality online with AI. Repair soft or compressed clips, upscale to 1080P, 2K, or 4K, and prepare cleaner creator, product, or campaign footage for export.
The video enhancer page explains a simple no-skill path: watch a looping example, choose or upload a clip, select 1080P, 2K, or 4K enhancement, then submit the task. This keeps the page useful as a focused AI video enhancer for users who need to enhance video quality, while still connecting the result to the wider Linocut AI creative workspace.
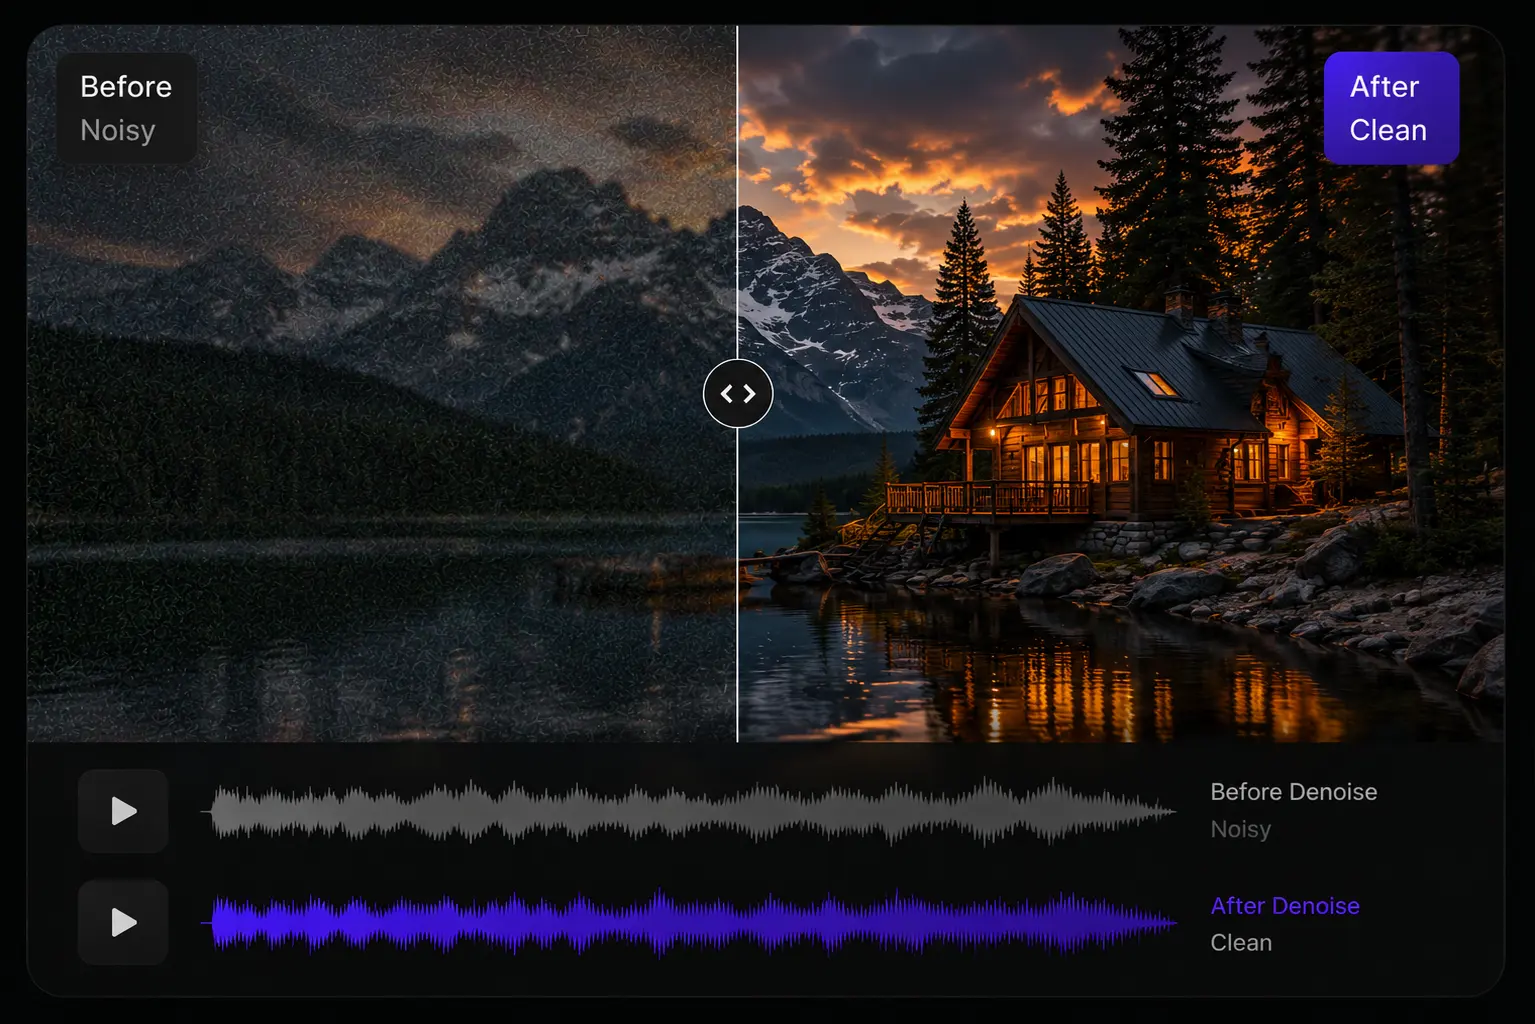
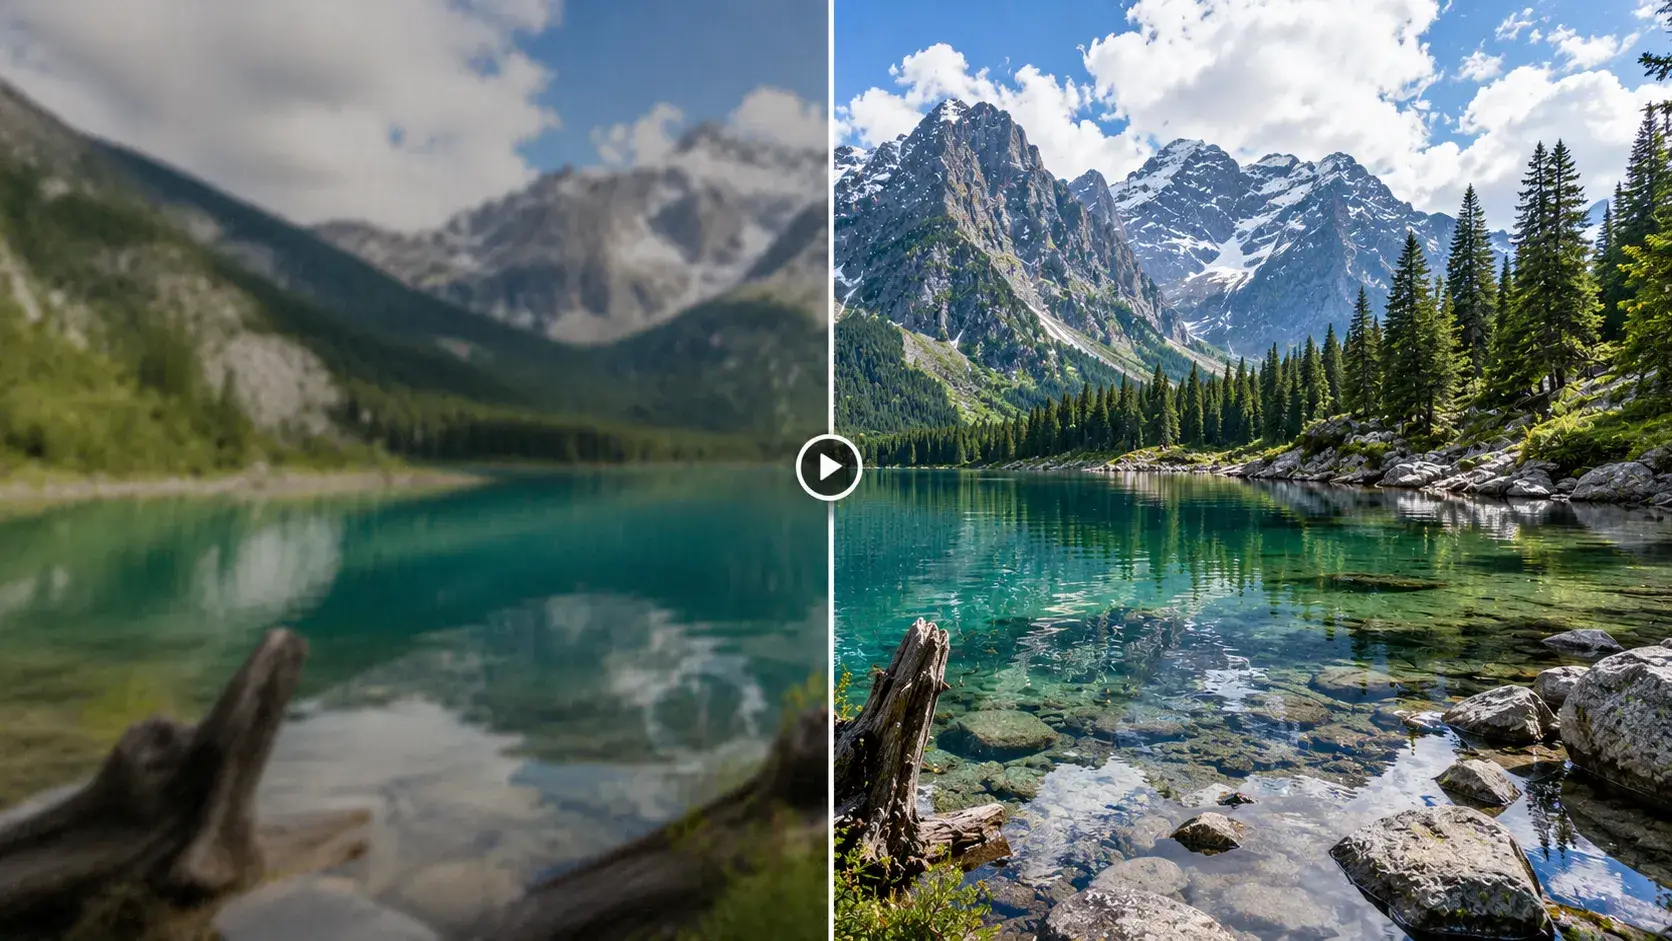
Keep the video enhancer workflow simple: upload footage, choose the target quality, then review one clean enhanced output.
The page opens with an example clip so users understand the HD clip enhancer task before entering the editing state.
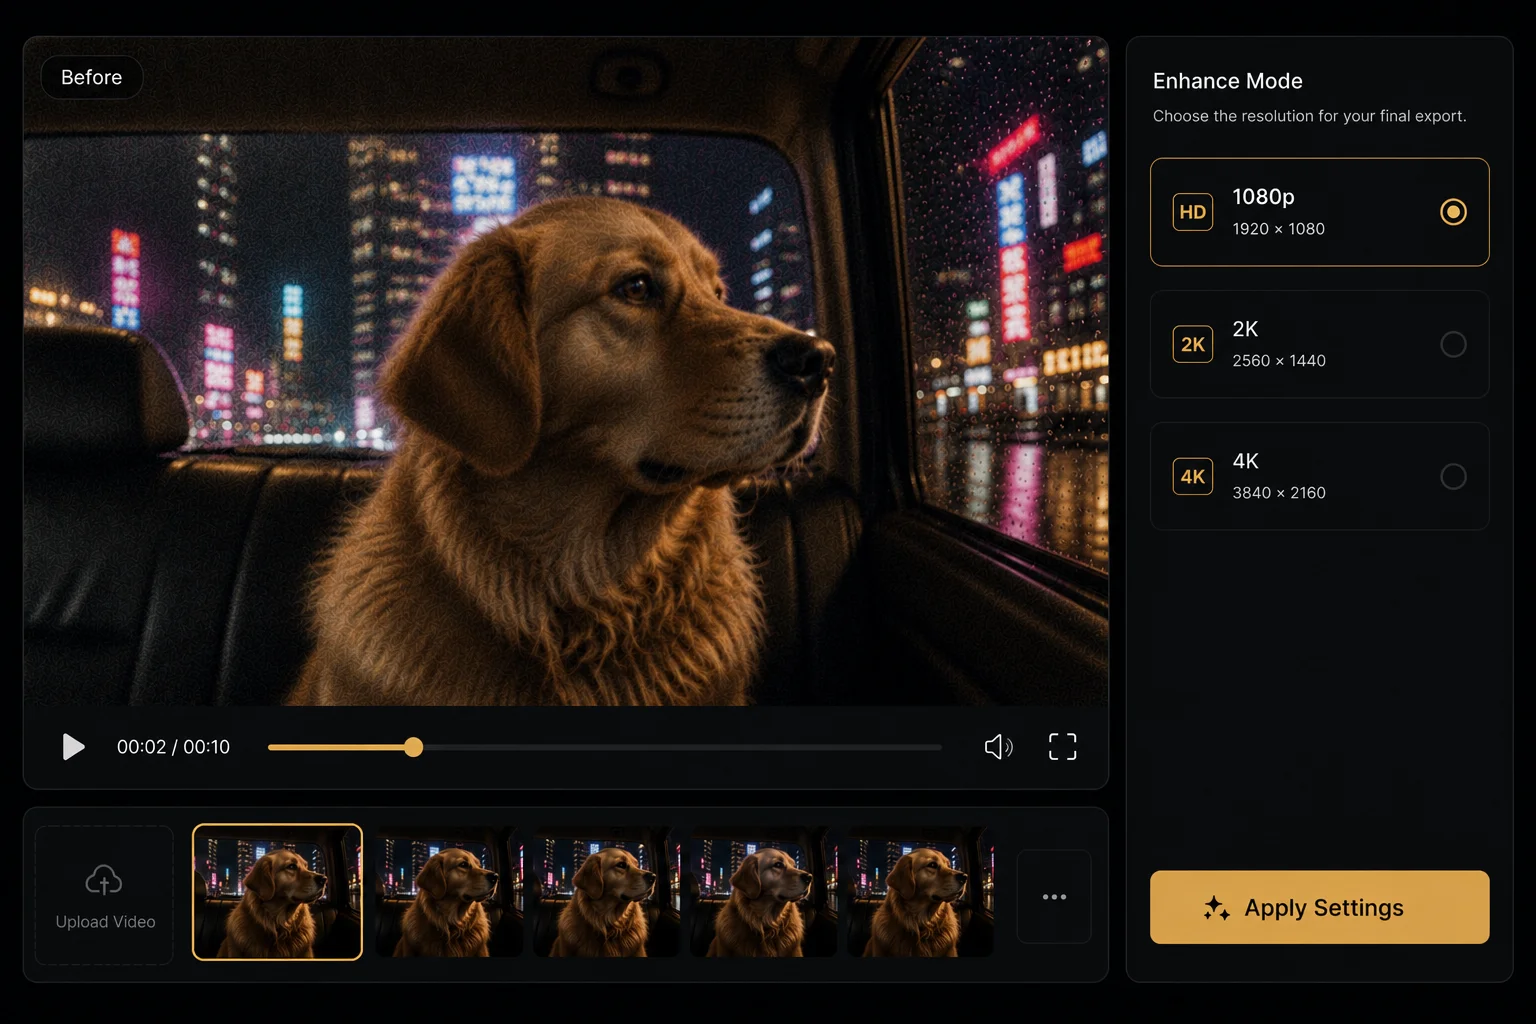
Once a clip is selected, the preview stays focused on the video while the settings panel configures the video enhancer mode, video upscaler target, and output size.
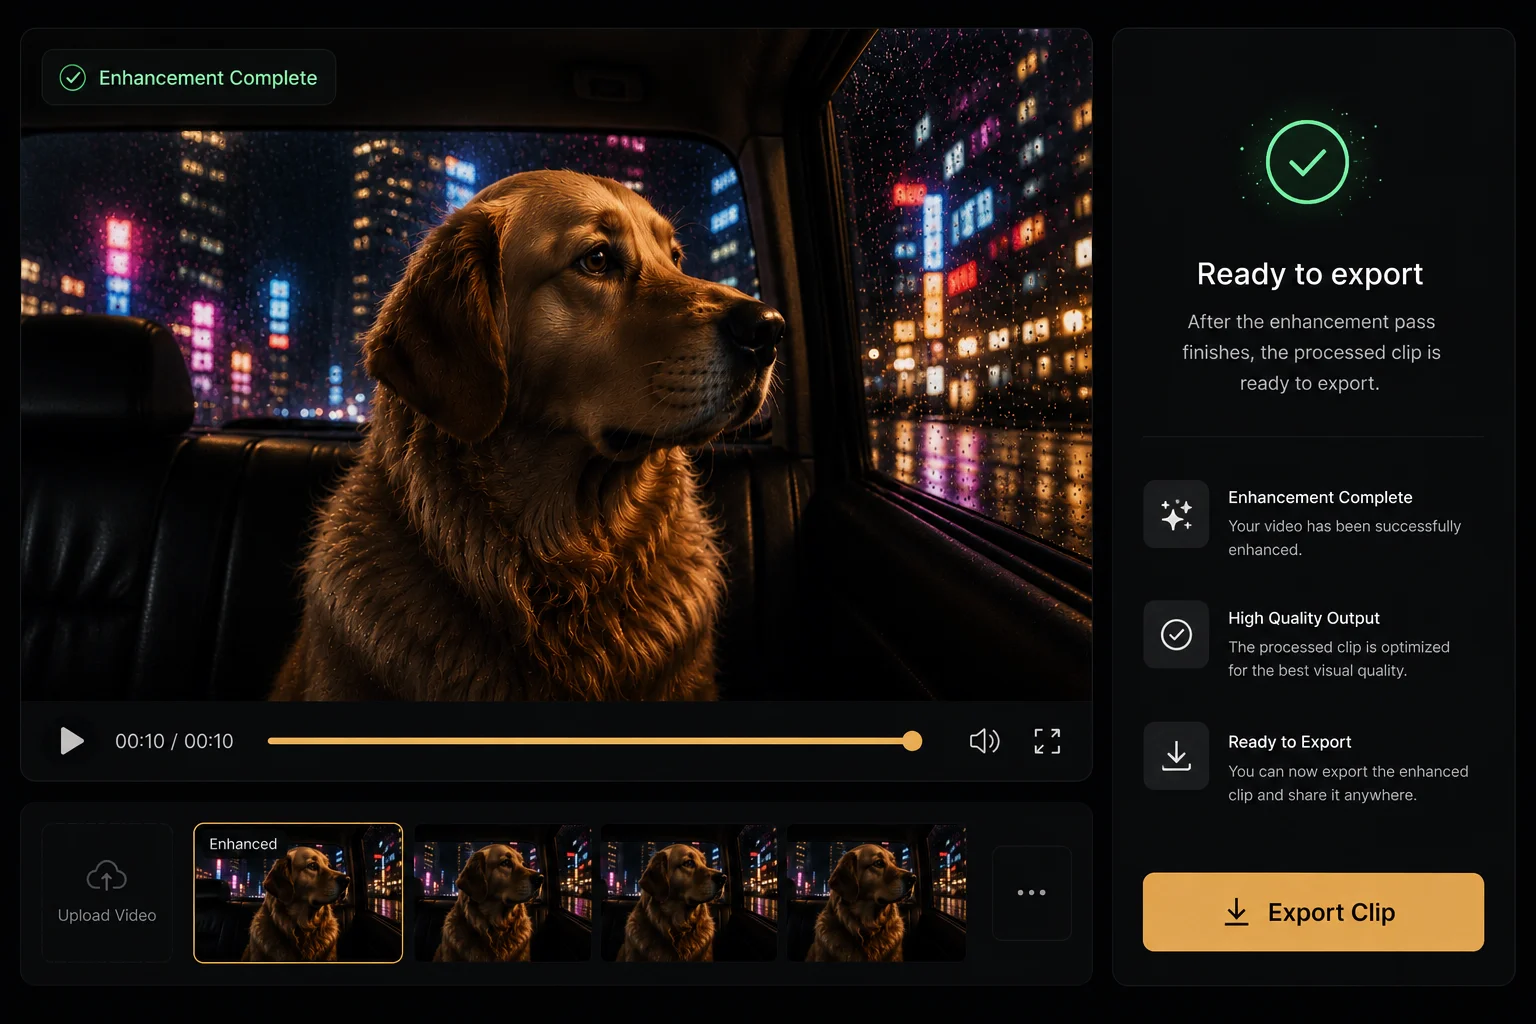
After the AI video repair pass finishes, the processed clip is ready to export or continue into the wider video workflow.
The content names the same job the workspace performs: improve a soft clip, preserve motion, choose a clean output target, and pass the enhanced video into the next creative step.
For users
The page explains what to upload, what quality target to choose, and where the result can go next.
For search engines
The copy connects AI video enhancer, video upscaler, repair, and export intent without stuffing keywords.
Core quality terms around clarity, scale, and texture.
Motion language that explains what stays stable in the clip.
Downstream export and workflow language for final use.
Use video enhancement as a focused quality pass before clips become product demos, campaign cutdowns, creator posts, or polished exports.
Start from a soft or compressed clip and let the AI video enhancer make the result clearer without requiring timeline expertise.
Use the video upscaler to improve product footage before it becomes listing media, short ads, or campaign cutdowns.
Use AI video repair to prepare UGC and short-form clips for trims, captions, and channel-specific exports.
Use enhancement as a quality-control pass before style, crop, or ratio variants need clean motion detail.
The page can rank for focused video AI searches, but the product story stays consistent: video enhancer is the entry point, and the Linocut AI canvas is where the clip keeps moving.
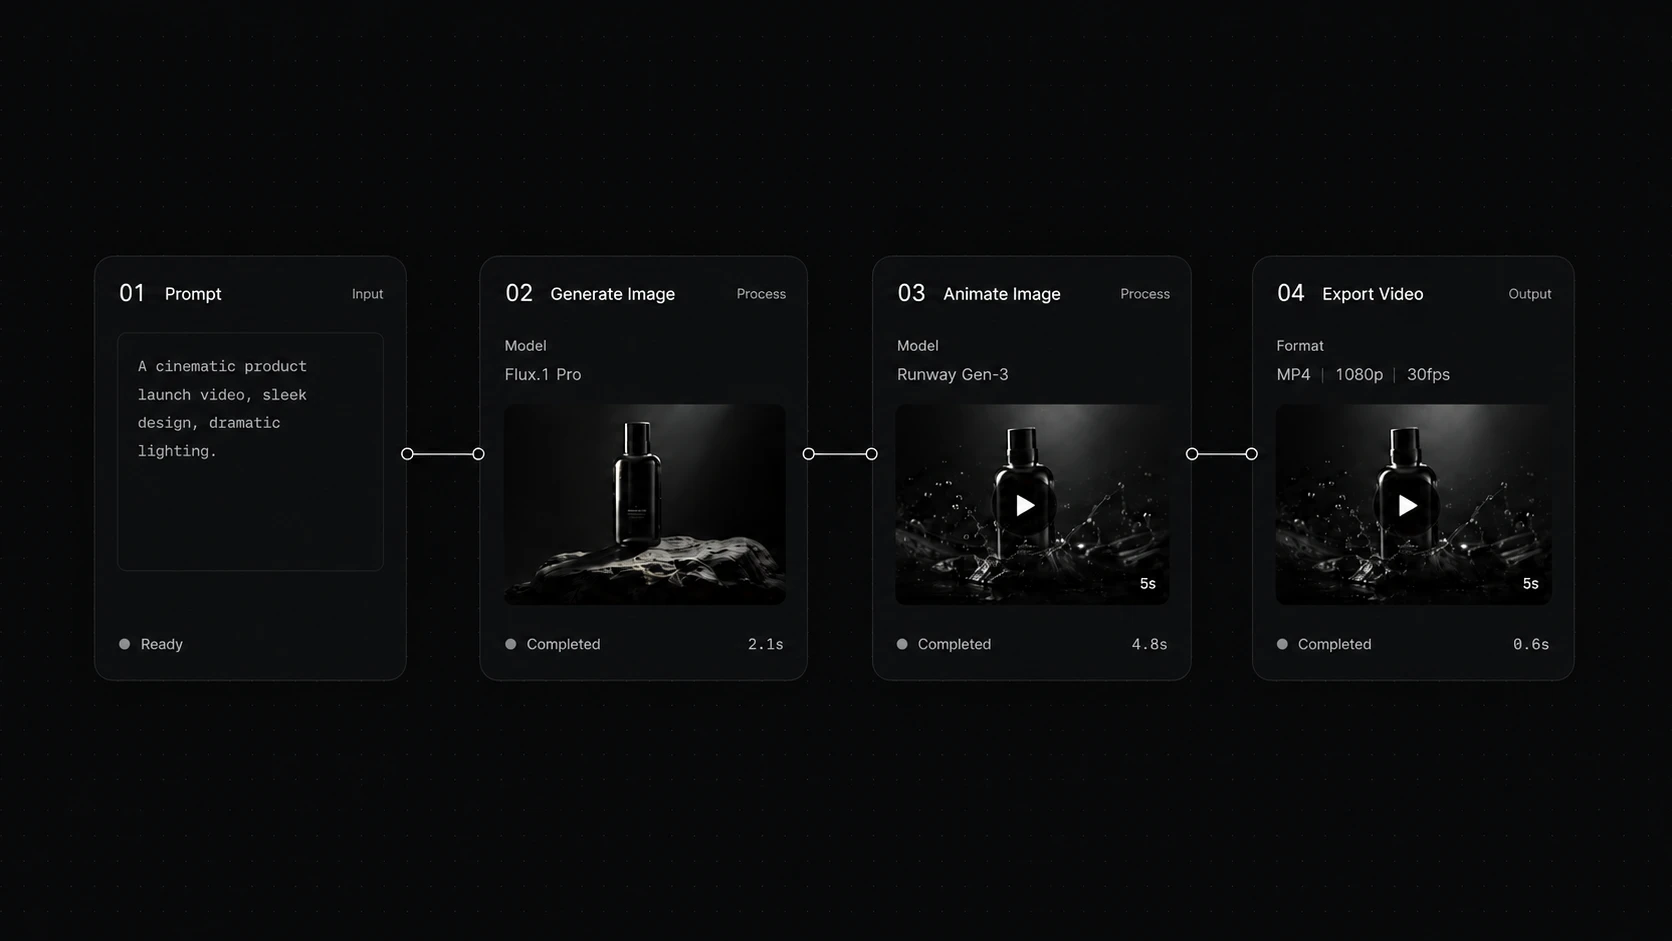
A repaired or enhanced clip should remain useful for follow-up video nodes, not become a dead-end export.
Use the same cleaned source for 9:16 shorts, 1:1 ads, 16:9 demos, captions, and product pages.
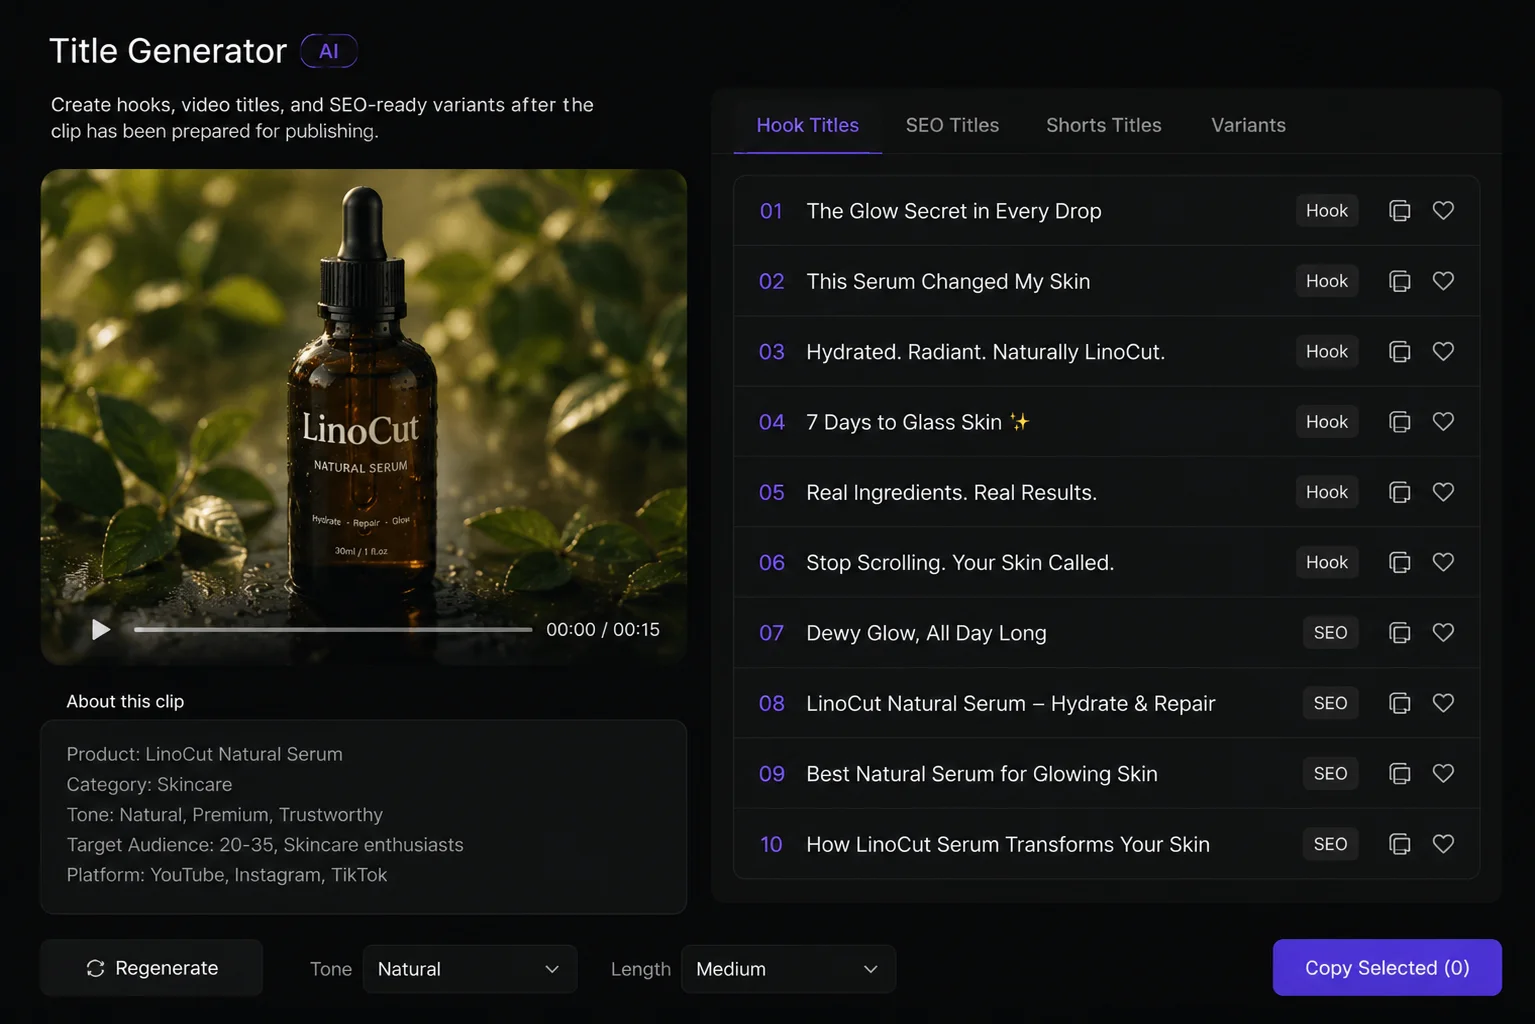
Video work often needs thumbnails, voice cleanup, transcripts, hooks, titles, and SEO copy in the same workspace.
Yes. The AI video enhancer lets you preview an example, upload permitted footage, choose an output target, and process a clearer clip in the browser.
Short product, creator, campaign, ecommerce, and social clips are the natural fit, especially when you need to enhance video quality from compressed, soft, noisy, or low-resolution footage.
Choose 1080P for quick cleanup, 2K when you need more detail for publishing, and 4K when the HD clip enhancer result needs larger screens or heavier cropping.
Yes. The video upscaler modes are built around clarity and scale, so you can improve detail while preparing the clip for 1080P, 2K, or 4K output.
Yes. The AI video enhancer is designed for soft and compressed clips where texture, edges, and motion detail need a cleaner pass before export.
The goal is to improve clarity, scale, and texture while preserving the original motion and subject. Review the preview before using the result in production.
Yes. Enhancement is positioned as a video node that can sit before trimming, styling, captioning, watermark cleanup, audio cleanup, or export.
Yes. A cleaner clip is easier to turn into short-form variants, captions, thumbnails, titles, and campaign pages inside the same creative workflow.
Upload common video formats such as MP4, MOV, or WEBM within the listed limits, then choose the video enhancer mode that fits the clip.
No. Upload a clip, pick the enhancement target, run the video enhancer, and review the processed preview before downloading or continuing the workflow.
Only enhance footage you own, created, licensed, or have permission to edit. Do not use enhancement to misrepresent rights, authorship, or source quality.
Start with one direct task, then keep editing, generating, writing, and shipping from the same Linocut AI canvas.